How To Prepare For A Fireplace Installation

cmlecates • March 25, 2024

Welcoming a new gas fireplace into your home is an exciting venture, offering not just warmth but a cozy ambiance that transforms your living space. To ensure a seamless installation process, it’s crucial to understand what’s involved and how you can best prepare. 

However, there are some aspects of the installation process we don’t cover, and preparing for these in advance will make the entire process smoother for everyone involved.

What We Don’t Provide:

Before diving into the excitement of selecting your new fireplace, it’s important to note the services that fall outside our scope. Our expertise is centered on the fireplace unit itself, which means there are some preparatory steps you’ll need to undertake or hire other professionals to handle:


  • Framing: The structural support that houses your fireplace needs to be prepared in advance.
  • Plumbing: Any gas line adjustments or installations required must be completed beforehand.
  • Electrical: Should your fireplace design include electrical components, these connections need to be ready.
  • Drywall: Finishing the walls around your fireplace for that seamless look is up to you.
  • Hearths: The foundation for your fireplace, if you desire one, should be prepared ahead of time.
  • Roofing/Stucco Repair: if there is a wall or roof penetration made, you should plan to get someone to repair and re-seal the roof or redo the stucco.

What We Do Provide:

At Custom Specialties Group, we specialize in the selection, supply, and installation of gas fireplaces. Our services are designed to ensure your new fireplace is perfectly integrated into your home, focusing on:


  • Fireplace Placement: We’ll work with you to choose the ideal location, making sure it’s perfectly centered and complements your living space.
  • Security: Ensuring your fireplace is securely installed is a top priority for us.
  • Venting: Proper placement of pipes is crucial for safety and efficiency; we take care of this, along with the installation of the chimney cap.
  • Fireplace Media: Whether your choice includes log sets, stones, or other media, we’ll handle the placement to create the aesthetic you desire.

Preparing for Installation

To ensure a smooth installation, here are a few steps you can take:


  • Consult with Professionals: For the services we don’t provide, it’s wise to consult with licensed professionals in advance. This might include contractors for framing and drywall or licensed plumbers and electricians for gas and electrical connections.
  • Clear the Area: Make sure the space where your fireplace will be installed is clear of furniture, decorations, and other items.
  • Access: Ensure there’s easy access to the installation site for our team and any equipment we might need to bring in.

Final Thoughts

Choosing and installing a new gas fireplace is a journey we’re excited to embark on with you. By preparing the necessary groundwork in advance and understanding the scope of our services, you’re setting the stage for a smooth and efficient installation. If you have any questions or need further clarification on how to prepare for your gas fireplace installation, don’t hesitate to contact us at (702) 657-1244


Welcome warmth and style into your home with Custom Specialties Group – where your cozy evenings by the fireplace begin.

Recent Posts
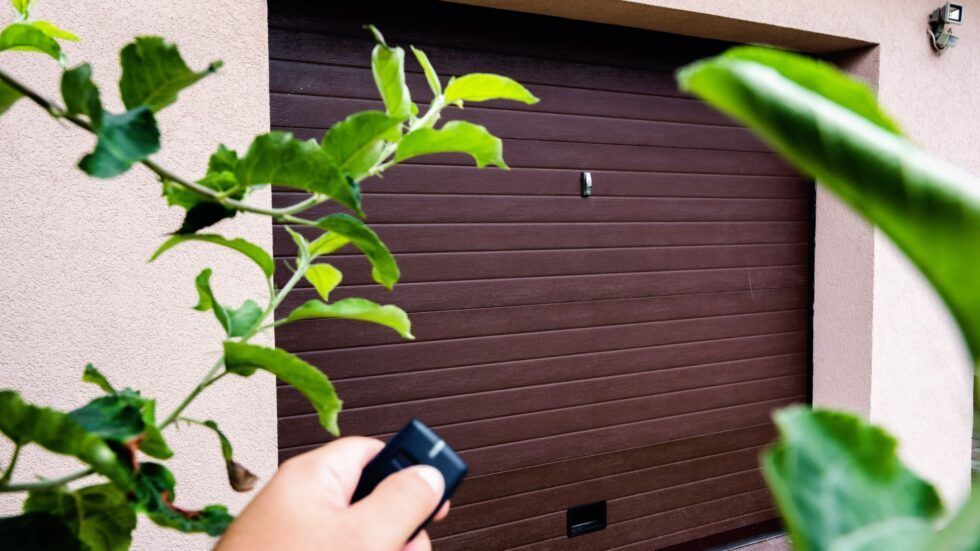
Hand using a remote to open a brown garage door. Green foliage in the foreground and on the side.
By cmlecates November 11, 2023
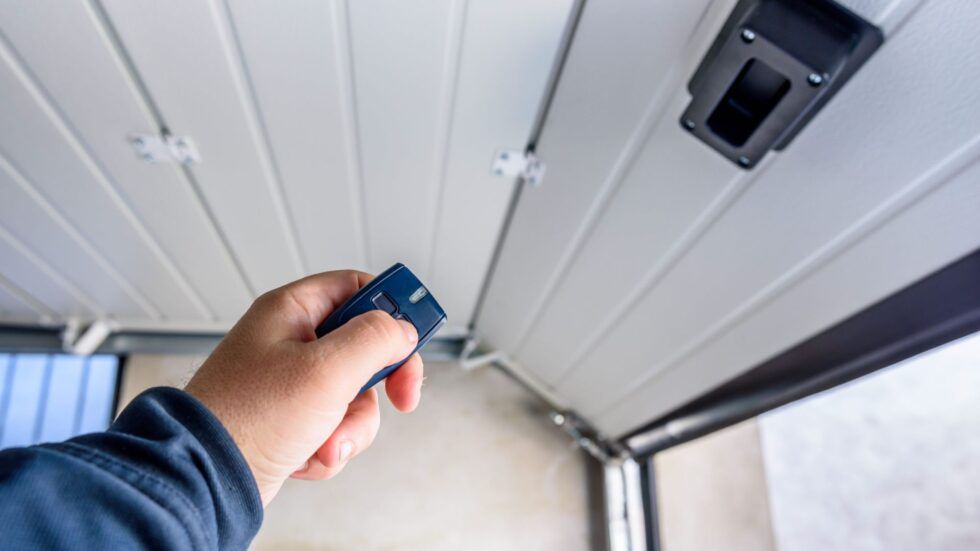
Learn to program your garage remotes to your garage door opener. to synchronize your remote controls, ensuring secure access to your garage.
Hand pressing button on garage door opener remote; garage door and opener visible.
By Info csglv November 3, 2023
Learn how to maintain your garage door to ensure its longevity and optimal performance to keep your garage door working well.
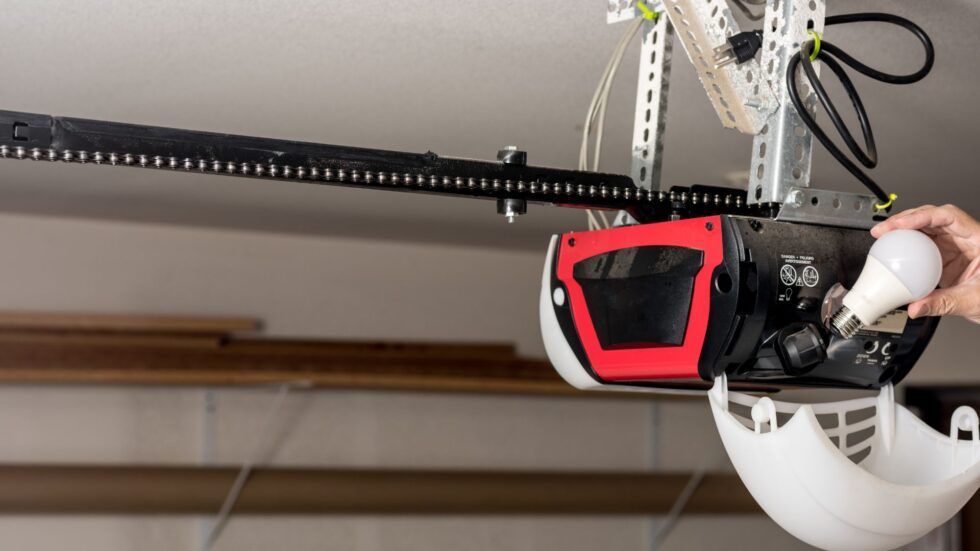
Person replacing a lightbulb in a garage door opener, red and white housing, black track.
By Info csglv September 22, 2023
The modern-day garage door opener comes with an array of safety features, one of which is the use of safety sensors. However, there can be instances when the garage door refuses to close and the opener blinks ten times. Through this guide, we aim to demystify the troubleshooting process to ensure your garage door is back in operational mode. Image Idea: An image showing a garage door sensor blinking with a garage door in the backdrop. Understanding the Blinking Signs The mechanism behind the blinking is quite straightforward. The garage door opener blinks ten times to indicate an issue with the safety sensors. These gadgets employ an invisible infrared light beam to detect obstructions in the garage door’s path. A common problem could be a blocked or misaligned sensor, defective wiring, or the sensors themselves being faulty. Image Idea: A visual representation or diagram illustrating how the infrared beam works between the two sensors. Step 1: Clearing The Obvious Obstructions Begin by inspecting the garage door’s pathway for any obstruction. Removing the object that obstructs the sensors might solve the problem instantly. If nothing appears to block the sensors, checking their alignment should be the next step. A minor bump could misalign the sensors, causing the blinking. Image Idea: Photos showing a before and after scenario where an object was removed from the sensor’s path. Step 2: Checking Sensor Alignment The safety sensors comprise a sending sensor (yellow light) and a receiving sensor (green light). The sending sensor transmits the infrared beam to the receiving sensor. Ensure the yellow light is on and check for the green light on the receiving sensor. If the green light is off, realign the sensors until the green light turns on and try closing the door. Image Idea: Images showing the alignment process of the sensors. Step 3: Delving into Error Codes If the issue persists, look for error codes on the LED troubleshooting light on the motor unit. These error codes vary from a common chain-drive garage door opener to belt-drive models. Understanding these error codes is essential as they provide insight into the underlying issue, whether it’s a wiring fault, a misalignment, or sensor defect. Image Idea: A table or diagram depicting different error codes and their meanings. Step 4: Investigating Wiring and Connections Check the wiring between your motor unit and the sensors for visible damage. Though not all wiring is accessible, especially if routed through walls, ensure to inspect what’s visible and repair any broken or damaged wiring. Image Idea: A photo showing damaged wiring and another showing repaired wiring. Step 5: Testing The Safety Sensors Directly If the problem remains unresolved, testing your safety sensors directly at the motor unit is advisable. This test helps determine if there are defective sensors or a break in the wiring that’s not visible. The procedure involves disconnecting the sensors, stripping the wires, and reconnecting them directly to the motor unit for testing. Image Idea: A step-by-step pictorial representation of the testing process. Step 6: Replacing Defective Components Should the testing reveal defective sensors, replacing them is the next logical step. If the issue lies within the wiring, replacing the existing wires might resolve the problem. Image Idea: Images showing the replacement of sensors and wiring. Conclusion: Dealing with a blinking garage door opener may initially seem daunting, but a systematic approach can help resolve the issue with ease. By following the steps outlined above, you can diagnose and rectify the problem, ensuring the safety and functionality of your garage door. Image Idea: An image of a now fully functional garage door closing smoothly with a caption “Problem Solved!”.